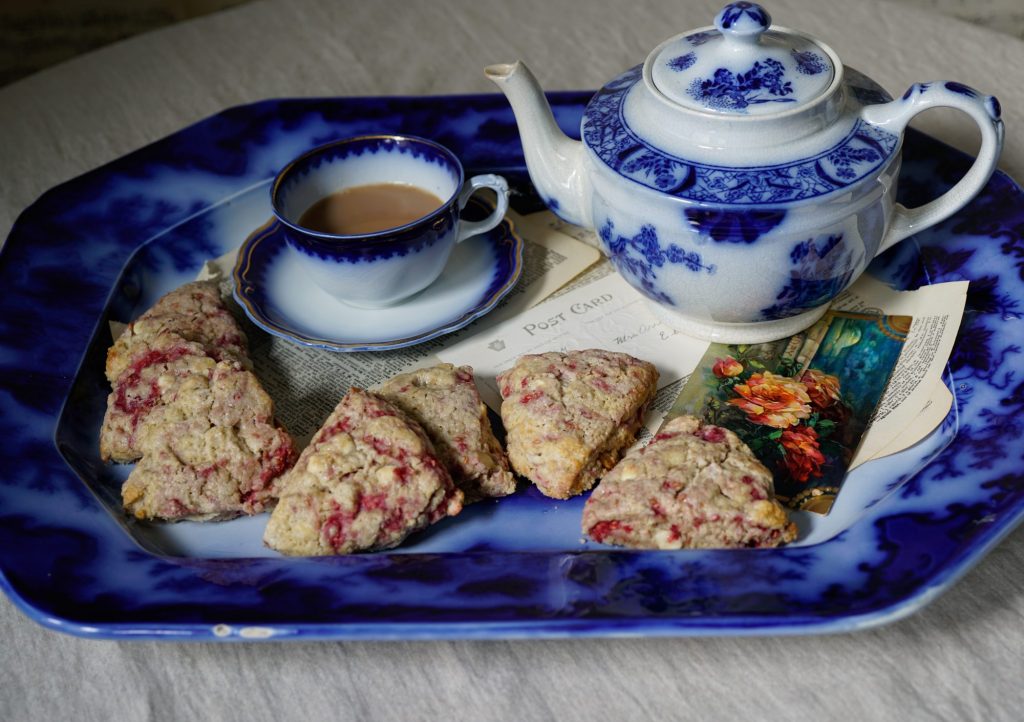
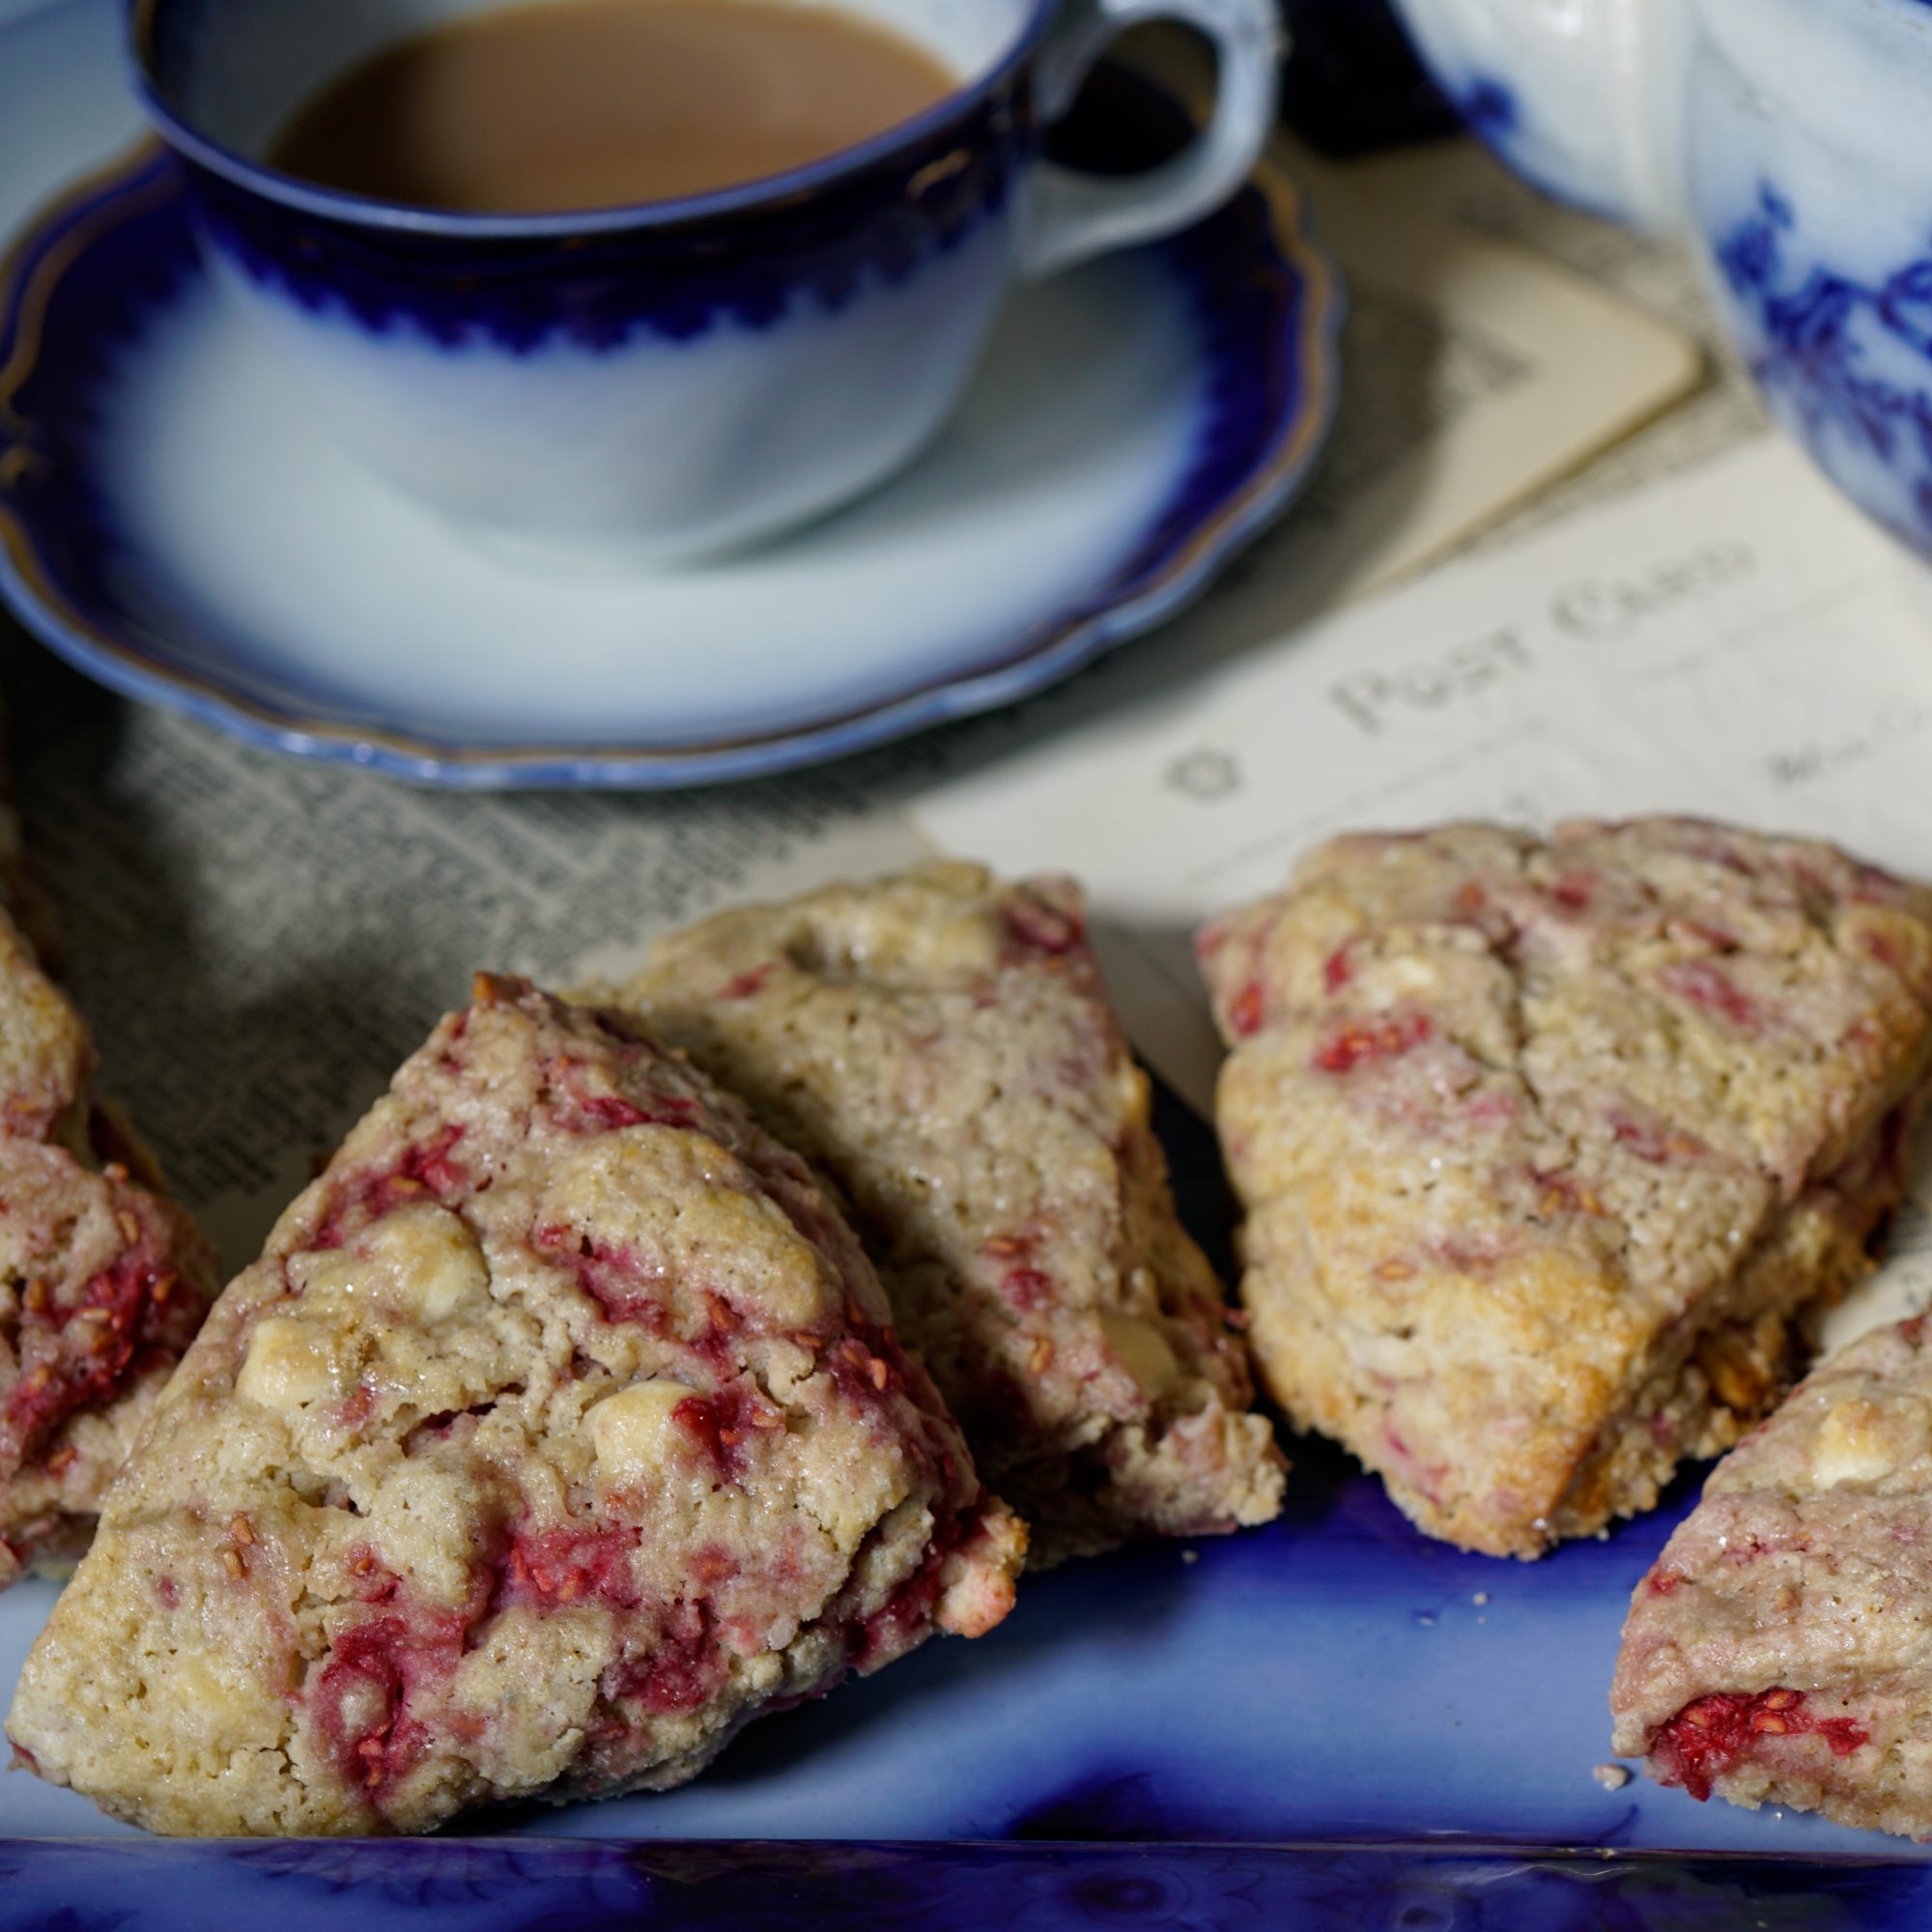
Cream Scones with Raspberries and White Chocolate
This recipe began in my kitchen as a simple cream scone made with regular flour. Over time, I’ve experimented with different blends of gluten-free substitutes and add-ins. My favorite so far is combining oat flour with a gluten-free flour blend—it gives the scones that classic crumbly texture while keeping them moist.

Ingredients
(Dry ingredients)
1 cup gluten-free 1 to 1 Baking Flour of your choice
1 cup oat flour
2 tsp baking powder
⅛ tsp salt
¼ cup sugar
⅓ cup butter, cubed
1 pint of raspberries (or a couple of handfuls)
⅓ cup white chocolate chips (I use Ghiradelli)
(Wet ingredients)
½ cup whipping cream
1 large egg
1 ½ tsp vanilla extract
(Eggwash)
1 egg white
1 tsp water
sugar for sprinkling

Oat Flour Highlight
Oat flour is sadly overlooked in most gluten-free recipes. If you’ve ever bitten into a dry, grainy gluten-free baked good, rice flour was probably the culprit. I’ve found that adding oat flour completely changes the story—so much so that most people can’t even tell they’re eating something gluten-free.
Directions
Combine the first five ingredients. Cut in the butter with a pastry blender until the mixture is crumbly. (It is okay if the crumbs are not uniform. The wet ingredients will bring it all together.)
Once the dry ingredients and butter are combined, toss in the raspberries and white chocolate chips. Fold with a spatula until evenly distributed. *Tip: I tore each of the raspberries in half as I placed them in the bowl. The smaller pieces helped keep the raspberries evenly distributed without being heavy.
Whisk together the heavy cream, egg, and vanilla; add to the flour mixture, combining until just moistened.
Take two sheets of parchment paper to place on the counter. Sprinkle each with flour. Make sure you have extra flour in a bowl that you can pat your fingers in while working the dough. Divide the dough in half and place a mound on each sheet of parchment. Use your fingers to press and shape into circles that are about 1 inch in height. Place the dough disks on a baking sheet and place in the fridge for about 30 minutes to an hour. This will help the dough to keep its shape and height when you cut into wedges before baking.
Preheat the oven to 425 F.
Make the egg wash by fork-whisking the egg white in a small bowl with a teaspoon of water. Take the dough out of the fridge and use a rubber brush to spread some of the egg white on top of the dough. Sprinkle it with sugar. This will create a crisp top and sparkly sugar coating.
Cut each circle of dough into sixths. *Tip: You can bake both circles of dough on the same cookie sheet by keeping the dough on the parchment paper. To move the wedges around so they cook evenly, try moving every other wedge in the circle. That way you only have to move half of the wedges while keeping the other half of the originals in place.
Bake for about 15 minutes. You might want to turn the cookie sheet around at the 13 minute mark if your oven is browning the scones in the back.
Remove the scones from the oven and immediately use a spatula to place each scone on a wire rack. This helps keep the bottom of the scone from getting moist.
The scones can be eaten warm or at room temperature. They are best enjoyed on the same day of baking. *Tip: You can prepare the dough and keep it in the fridge overnight and bake fresh the following day. I freeze any extra scones.
This recipe makes 12 scones.
