Mini Banner from Postcard
I love vintage postcards. There are so many uses for them. I was inspired to create a mini banner to go with my “Tea Cup Celebration” gifts. Creating the banner could be very tedious, so I created a method to “work smarter not harder.”
I stretched my mini banner across an old wire locker-basket stacked with vintage books. These books have gold edged pages which become the highlight when turned outwards.
Here the mini banner is strung across a picture frame. This saying, “The best things in life aren’t things,” is a good reminder about what is truly important in life. Of course, the irony is that I have this art hanging on a wall cluttered with “things.”
Directions:
- Gather supplies: vintage postcard, ruler, scissors, pen or pencil, sewing machine.
- Make a template. Once you make the first set of triangles, hold onto it. You can use it to trace triangles for all future postcard mini banners.
- To make the template, mark 1/4 inch past the bottom of the postcard and draw a line. Starting at the bottom left corner, mark a dot on each 1 inch mark.
- Then starting with the very bottom of the postcard, mark 1 1/2 inch vertical dots on the edges and draw a line across.
- Finally, begin measuring that line starting with 1/2 inch. Then mark a dot on the 1 1/2 inch , 2 1/2 inch, 3 1/2 inch 4 1/2 inch and finally 5 1/2 will take you to the outer right edge of the postcard.
- You are ready to use your ruler and connect the bottom dots to the top dots to create triangles.
- Cut out the triangles making sure to leave the bottom 1/4 inch attached.
- Use the template to trace the opposite side of the postcard with the triangles.
- Cut out.
- Finally, use your scissors to cut right down the center of the postcard. This will create a natural 1/4 inch border without needing to measure.
- You’ll now have 4 triangle lengths. Snip off any half triangles, leaving the 1/4 inch border.
- Use a bit of tape to attach the lengths together, overlapping with the little edges that were left from the half triangles that were snipped.
- Sew the long length of triangles together. But make sure you are sewing through the triangles and NOT through the 1/4 inch edge. You want to have space between the triangles so that they hang like a banner.
- Cut the 1/4 inch edge off. Now you have a mini banner!

Tea Celebration Gift
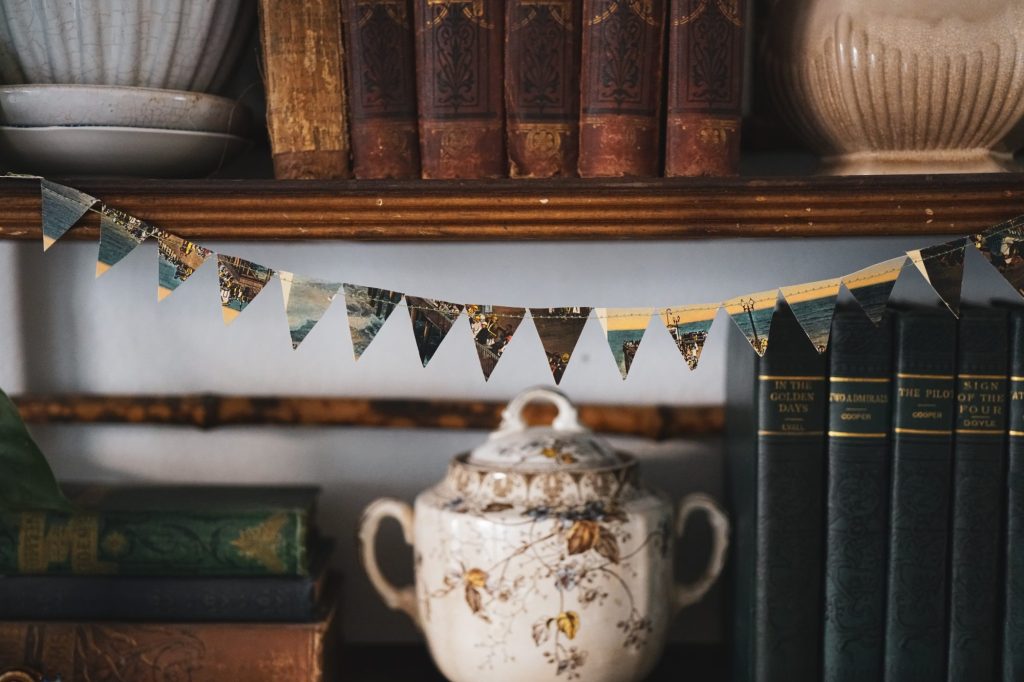
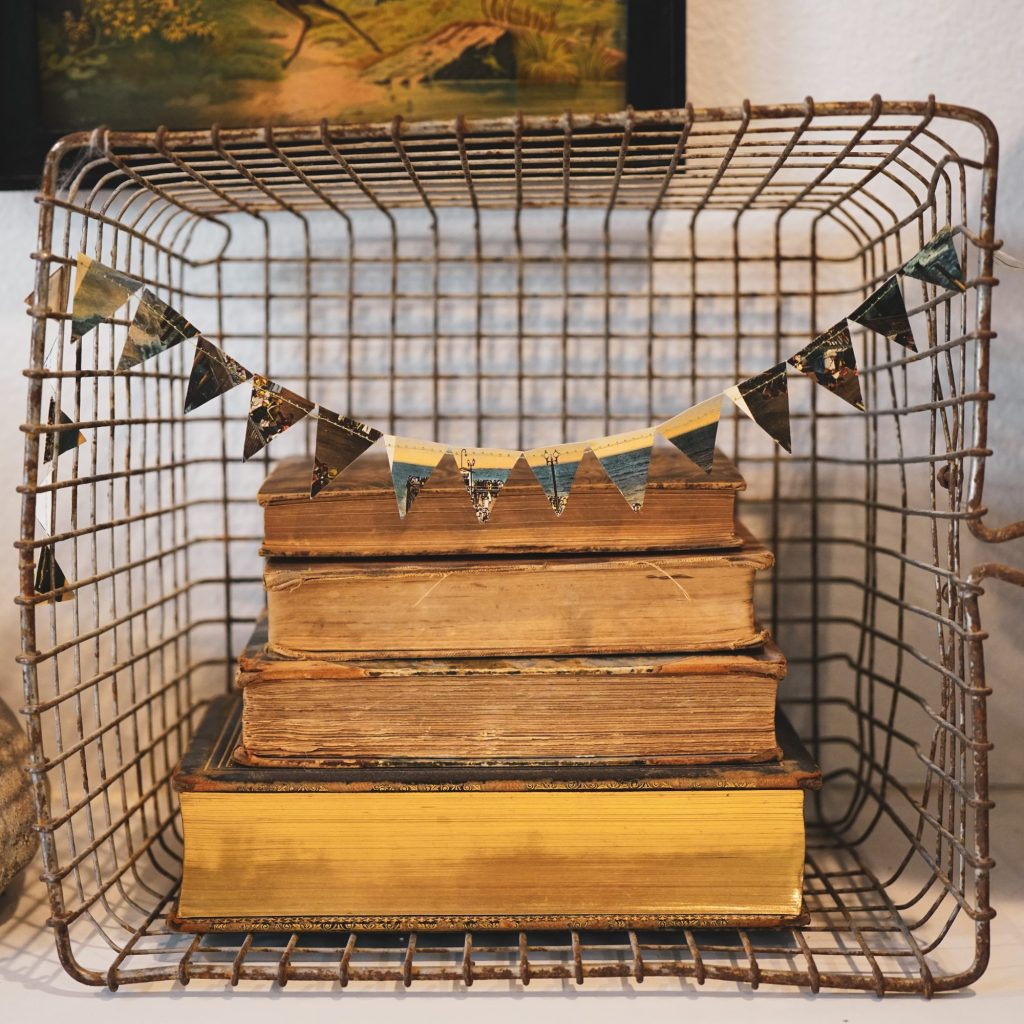
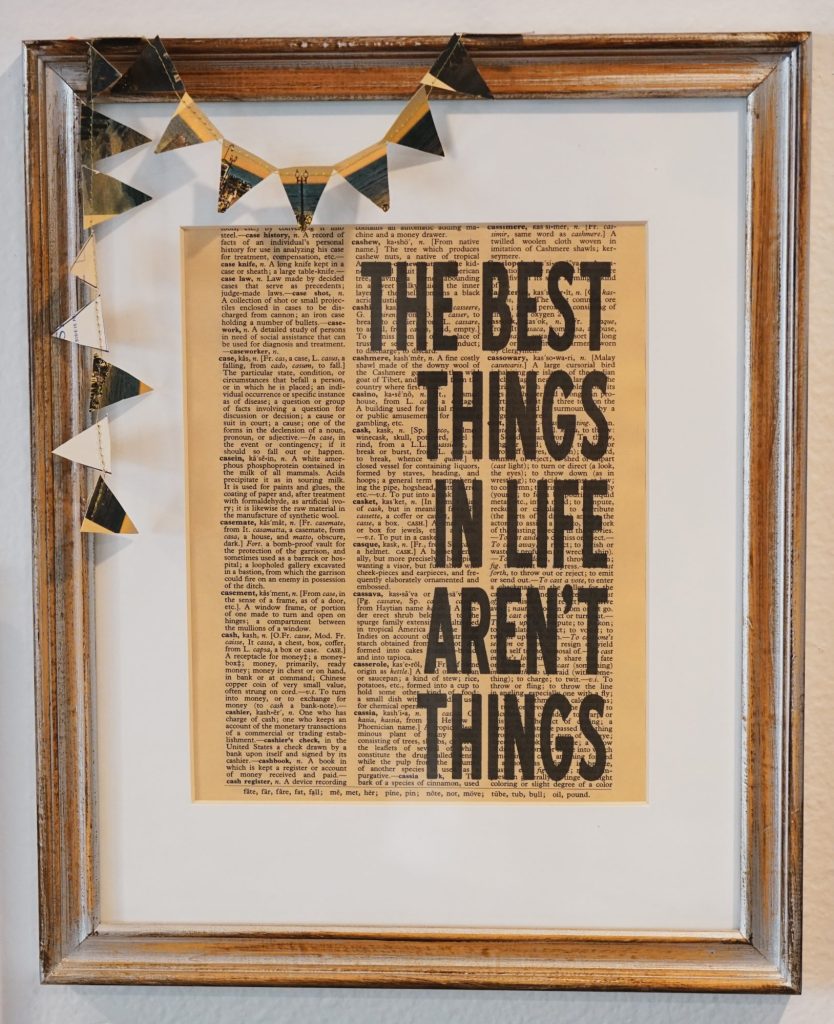
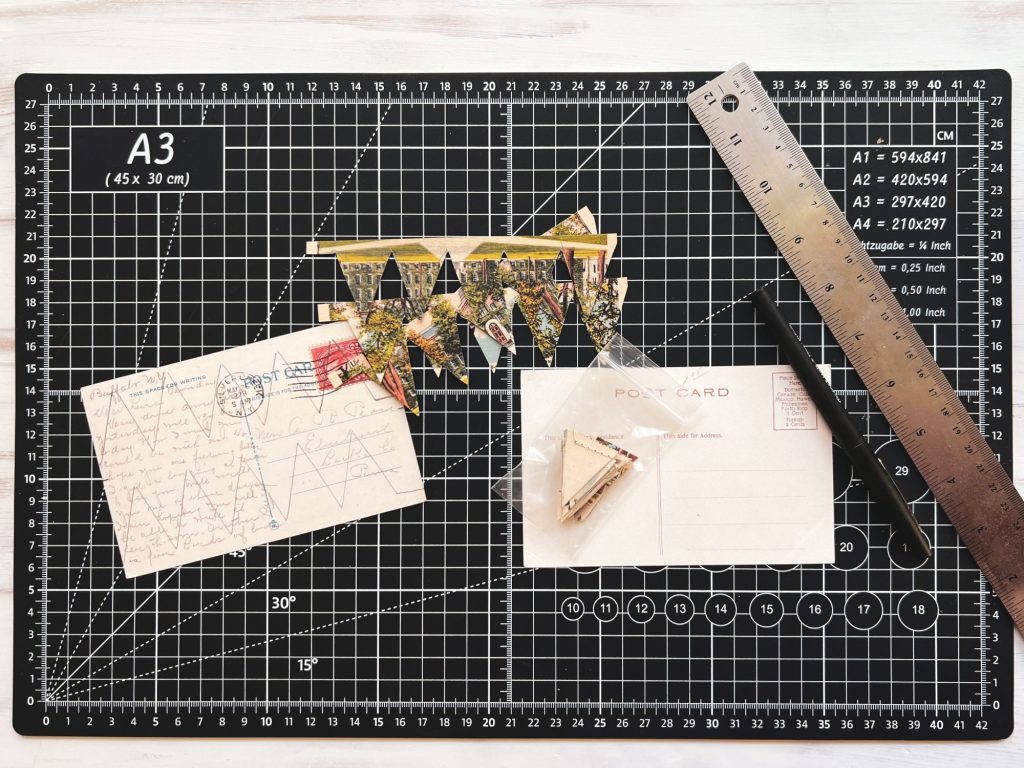
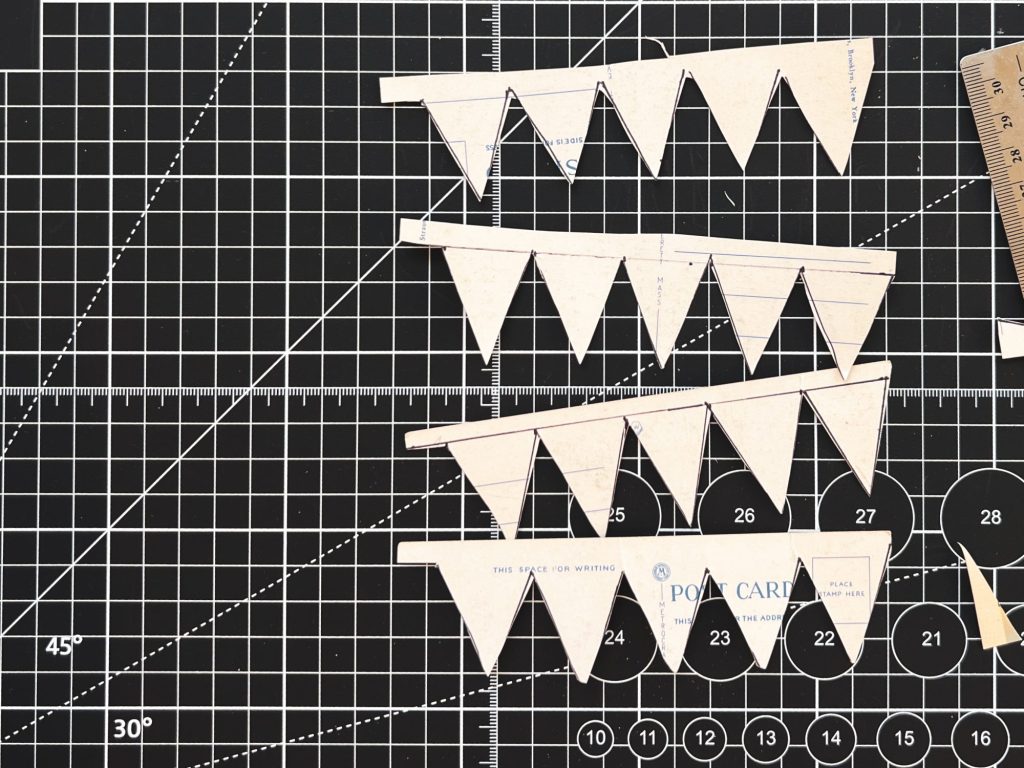
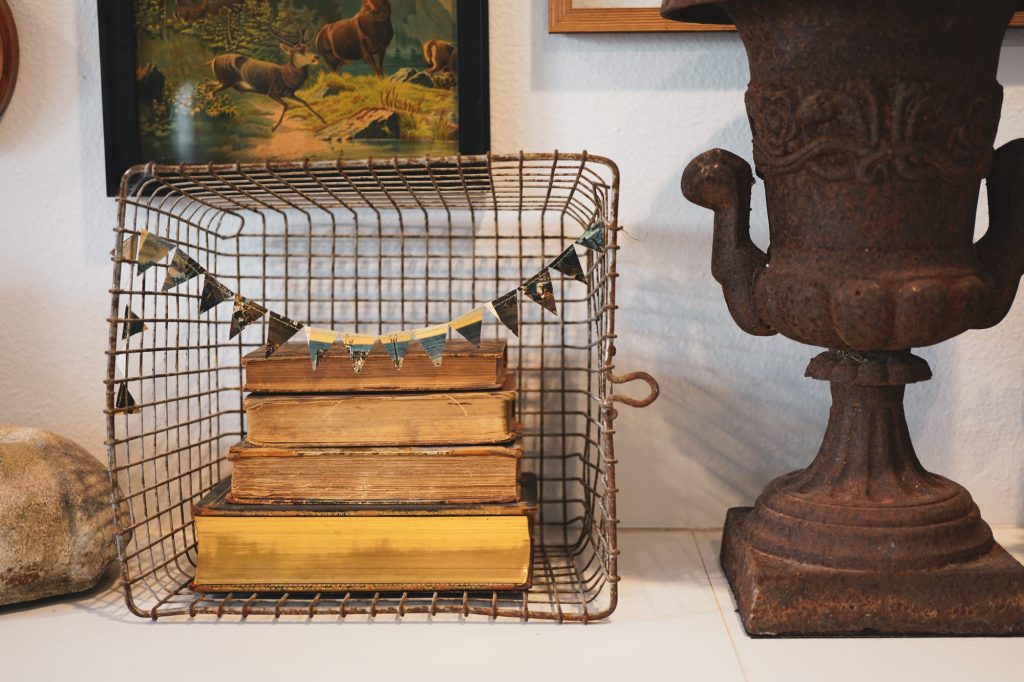
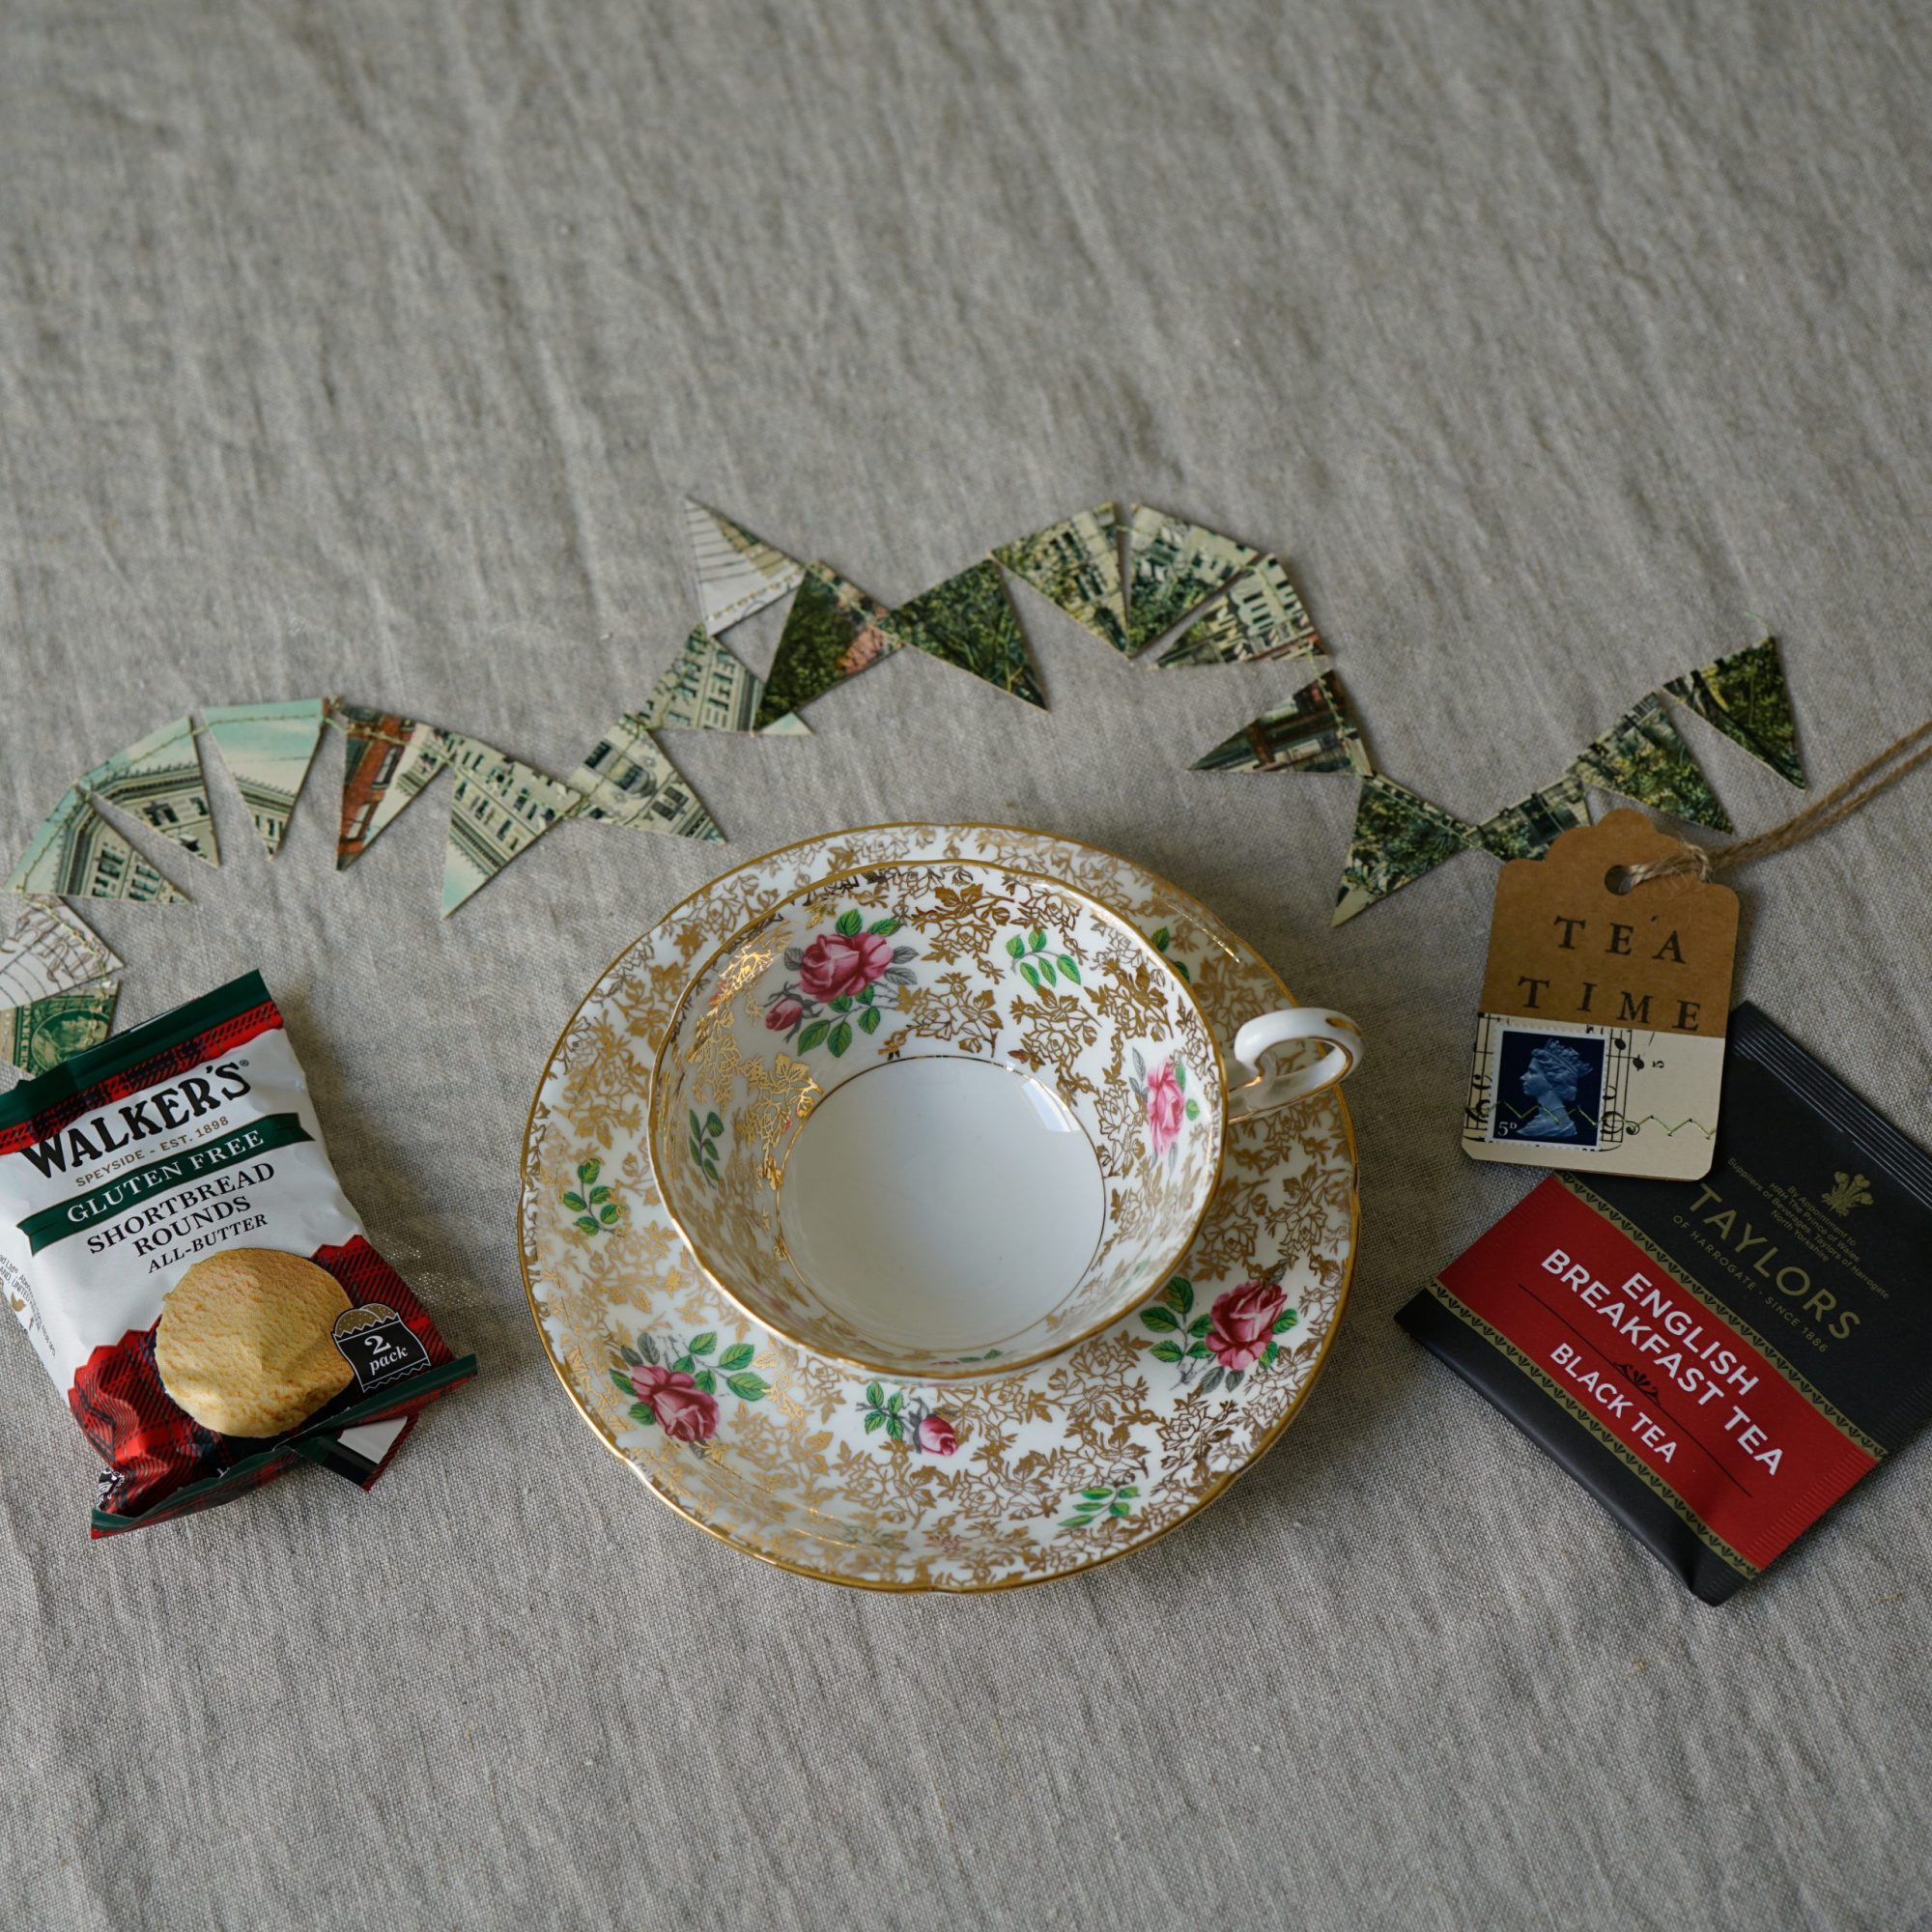
Here is an example of a "Tea Celebration Gift" with a "Mini Banner from a Postcard." You can find a variety of these gifts - complete with shortbread cookies, English tea, gift tag, and mini-banner on my "Shop" page.
