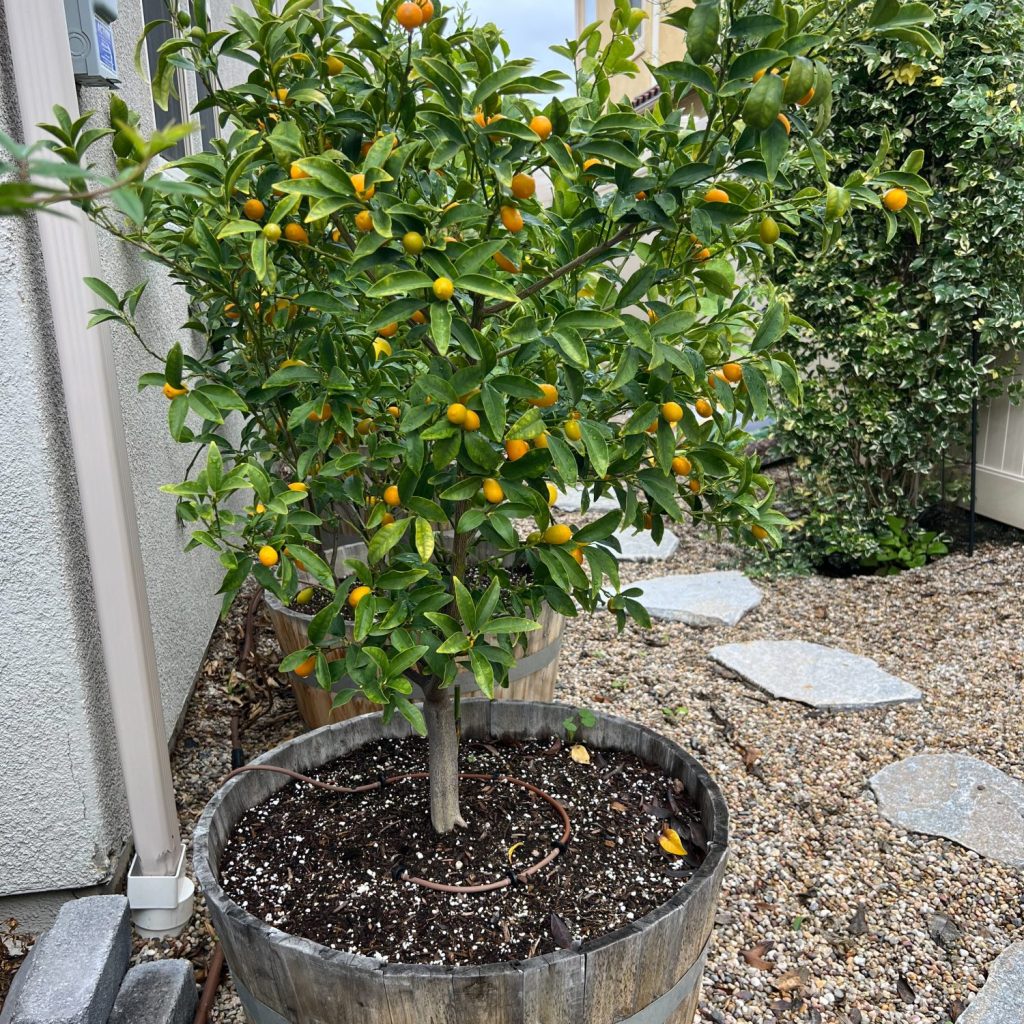
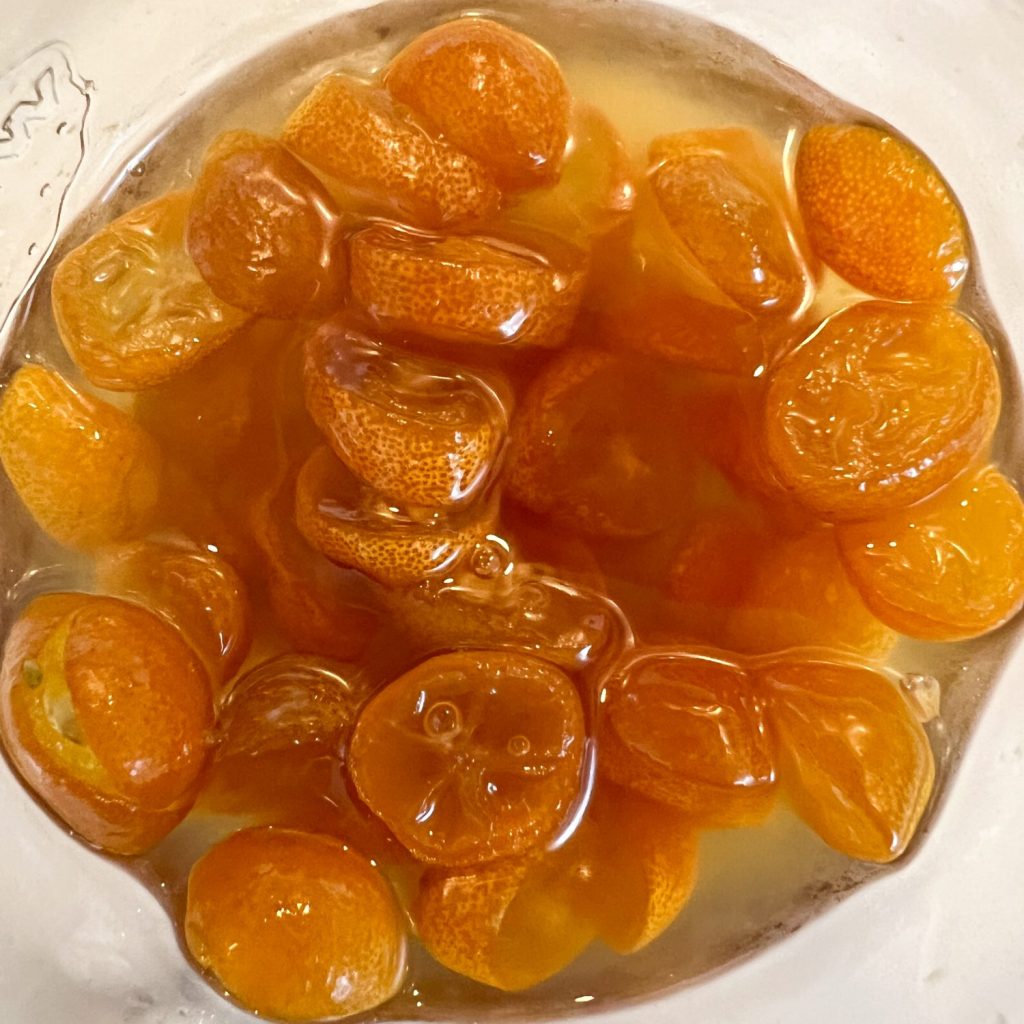
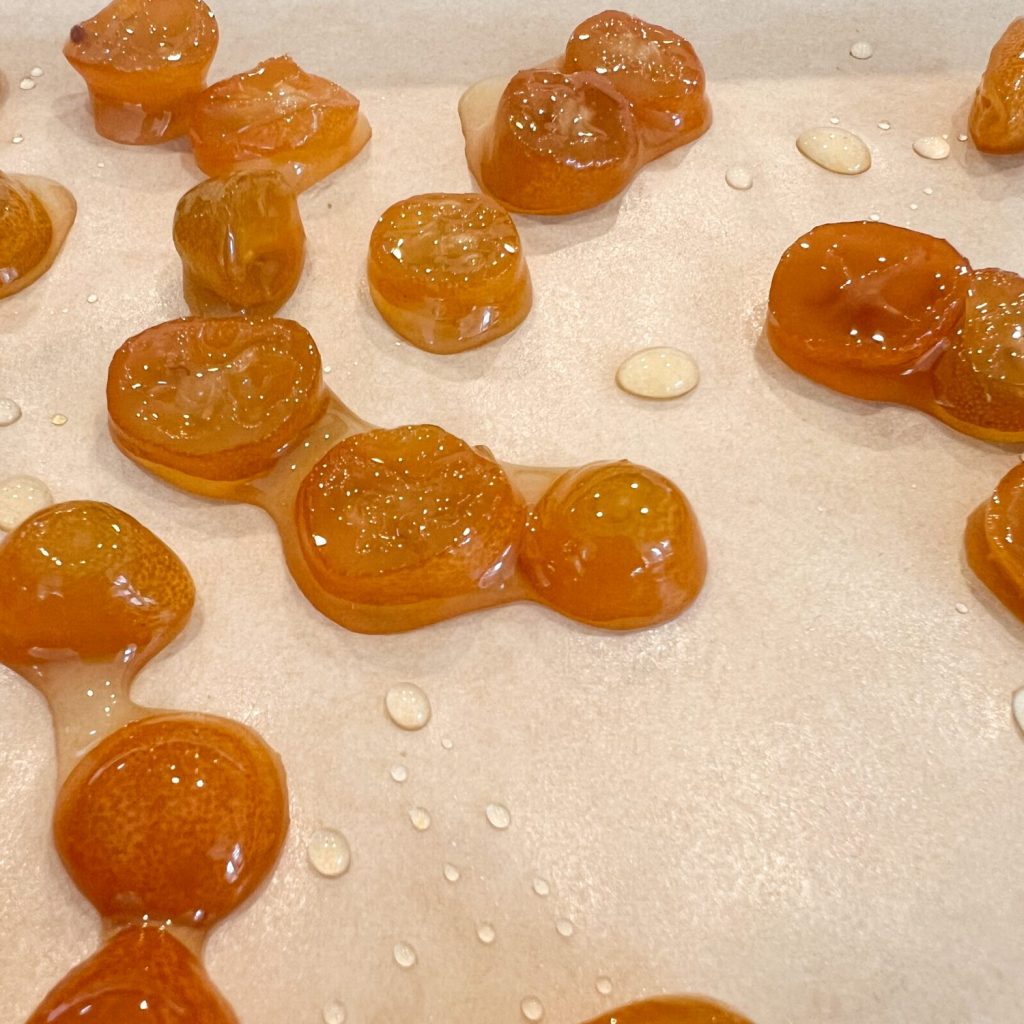
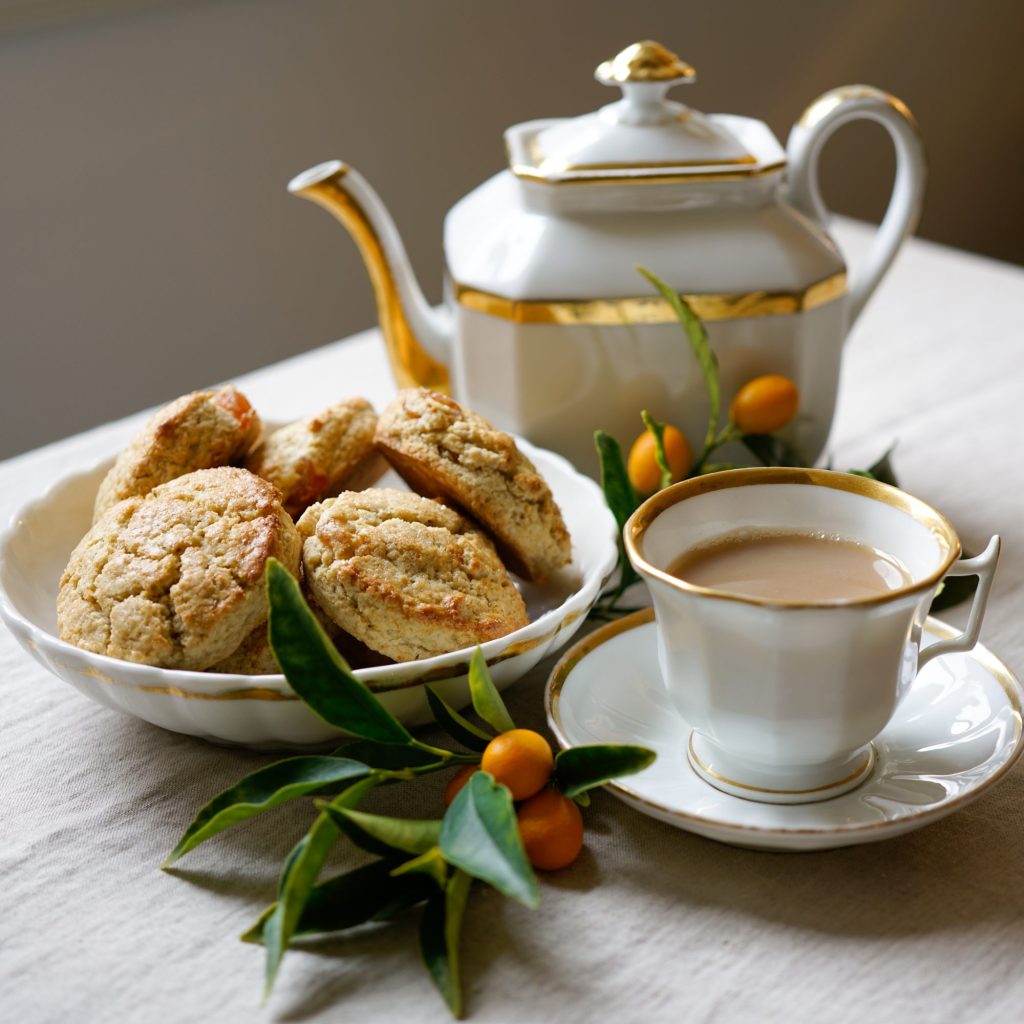
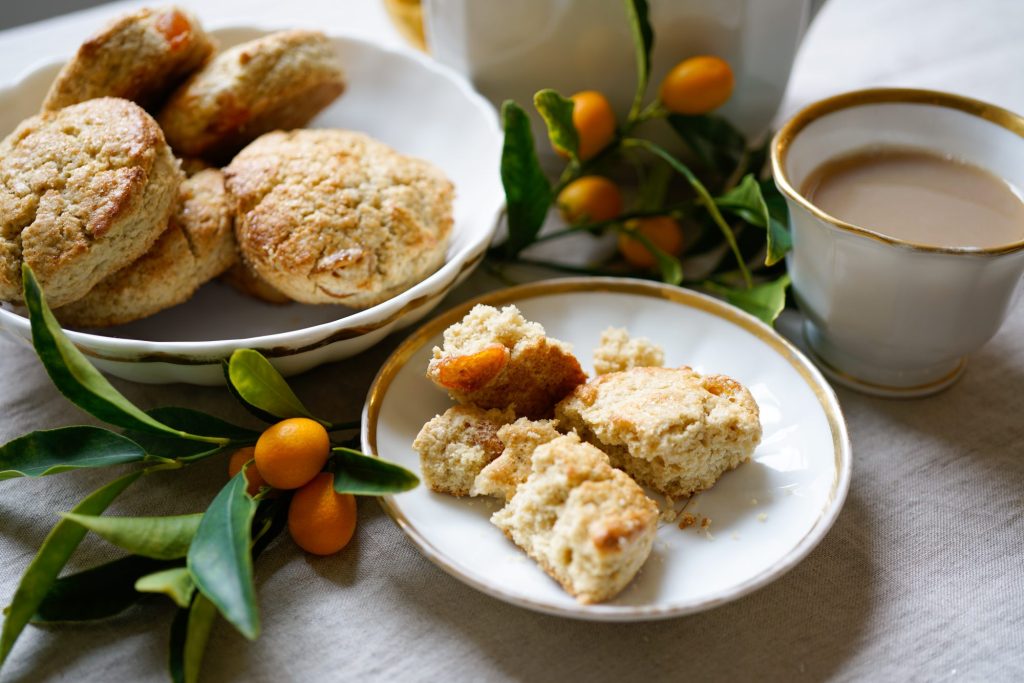
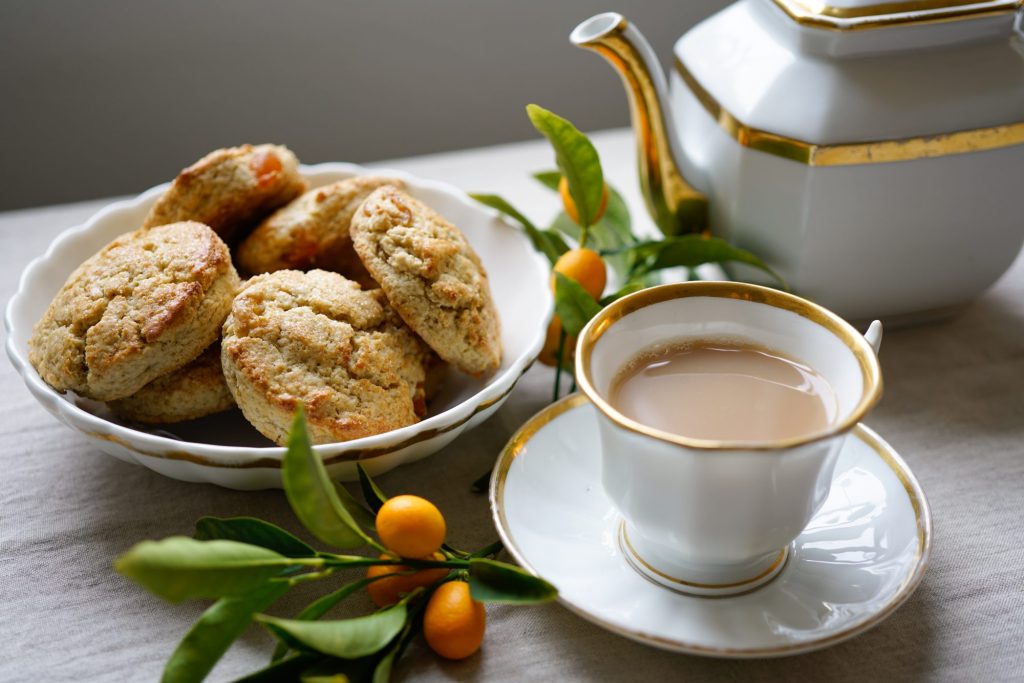
Scones with Candied Kumquats

This is my favorite recipe for scones with the addition of candied kumquats. A happy little tree in my yard provides an abundance of wintertime kumquats each year. 

Ingredients

*How to Candy Kumquats

Ingredients: 8 ounces (about 1 ½ cups) of fresh kumquats cut into bite-size pieces with the seeds removed. 1/4 cup + 2 Tbsp water. ¾ cup sugar. 

Directions: Bring the water and sugar to a boil in a small pot and simmer for about 4 minutes. Add the kumquats and simmer for 10 minutes. Using a slotted spoon, remove the kumquats into a glass jar. Continue to simmer the remaining syrup for 5 more minutes. Pour enough of the syrup over the kumquats in the jar until the kumquats are covered. Let cool, cover, and place in the refrigerator for up to 3 weeks. 


Ingredients:


(Dry ingredients)

1 cup gluten-free 1 to 1 Baking Flour of your choice

1 cup oat flour

2 tsp baking powder

⅛ tsp salt

¼ cup sugar

⅓ cup butter, cubed


(Wet ingredients)

½ cup whipping cream

1 large egg

1  tsp vanilla extract

⅓ cup candied kumquats


(Eggwash) 

1 egg white 

1 tsp water

sugar for sprinkling

Kumquats

I love kumquats. You might see them at your local farmer's market. In California they grow really well. I grow this little tree in a half-barrel in my yard with a mixture of soil and sand. Kumquats are interesting because the skin is sweet and the inside is bitter. I like to pop them in my mouth and eat them whole.

Directions

Combine the first five ingredients. Cut in the butter with a pastry blender until the mixture is crumbly. (It is okay if the crumbs are not uniform. The wet ingredients will bring it all together.)


Whisk together the heavy cream, egg, and vanilla. Stir in the candied kumquats. *Tip: Separate the kumquats from their candying liquid. Fill a ⅓ measuring cup with the kumquat pieces. 

Add the cream and kumquat wet ingredients to the flour mixture, combining until just moistened.


*Tip: At first, it will look like the scone mixture is too dry, but don’t fear, press and fold with a spatula until the mixture comes together. And it does – quickly! 


Take one sheet of parchment paper to place on the counter. Sprinkle with flour. Make sure you have extra flour in a bowl that you can pat your fingers in while working the dough. Place the dough on the parchment. Use your fingers to press and shape into a large circle that is about an inch in height. Using a circle cutter, cut and transfer to a parchment lined cookie sheet. Depending on how thick the dough is, and the size of the cutter, will determine the number of scones. My dough produced 10 nicely shaped scones and 1 lump. Place the cookie sheet in the fridge for about 15 -30 minutes. I have read keeping the dough cold results in a higher lift while baking. 

Preheat the oven to 425 F. 


Make the egg wash by fork-whisking the egg white in a small bowl with a teaspoon of water. Take the scones out of the fridge and use a rubber brush to spread some of the egg white on top of each. Sprinkle it with sugar. (I prefer turbinado.) This will create a crisp top and sparkly sugar coating. 


Bake for about 15 minutes.


Remove the scones from the oven and immediately use a spatula or your fingers (my fingers are highly heat-tolerant) and place each scone on a wire rack. This helps keep the bottom of the scone from getting moist. 


 The scones can be eaten warm or at room temperature. They are best enjoyed on the same day of baking. *Tip: You can prepare the dough and keep it in the fridge overnight and bake fresh the following day. I freeze any extra scones.

 This recipe makes between 10-12 scones.

Leave a Comment

Your email address will not be published. Required fields are marked *

Scroll to Top